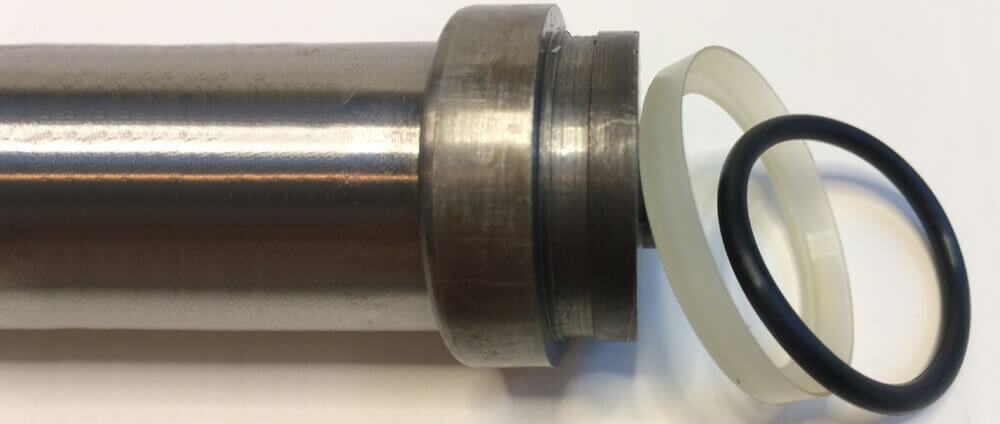
While possibly the best seal in use, Leather Piston Seals can be difficult to install unless you follow these directions. The flare angle needs to be slightly straightened to allow the seal to be pushed into the cylinder.
Install it on the end of the ram with the flare pointing away from the ram. Next, place a towel/rag on a work bench and soak a six inch circle in the center with hydraulic fluid. This will become your work area for "working" the flare of the seal and reducing the angle. With the ram at approximately a 45 degree angle, repeatedly roll the seal through the fluid, exerting pressure on the flare, until the flare reduces to nearly a 90 degree shape. The seal must be deformed enough for it to slip into the cylinder without damaging the leading edge lip – where the actual sealing will occur on the cylinder wall. (roll the edge)
After successfully inserting the new seal and ram into the bore, reassemble the jack and put it under load. The jack should rest under load for 4-6 hours to allow the pressure to force the seal angle flare to return to normal against the cylinder wall. Once the flare is restored, enjoy your working jack for years to come.
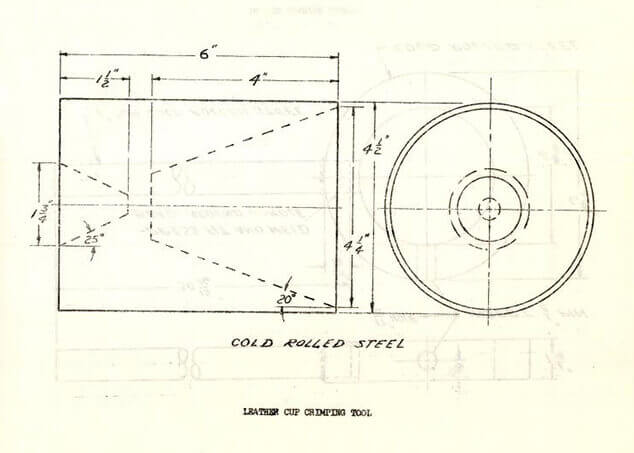
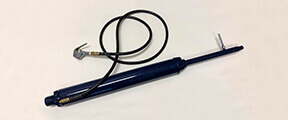
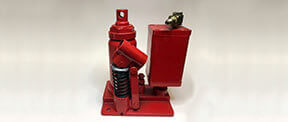
In the old days, when this tool was available, the mechanic would attach the leather cup to the ram and then place it at the proper end of the tool. The mechanic would hammer the ram into the tool to crimp the seal to fit in the bore of the cylinder being repaired.
One end of the tool was for cups up to 4-1/2 Inches. The other end of the tool was for cups up to 1-3/4 Inches. Follow the dotted lines; they show the inside dimensions of the crimping tool.
+How-To: Bleed a Jack
Another popular question we receive is - How do I bleed my jack? Well, jacks are NOT quite like the hydraulic brake system of your car. You don't have several feet of small diameter steel tubing carrying ounces of oil all over the place, so, you don't really need to bleed them as part of routine care.
If your jack is acting 'spongey' the major reason generally is that you have a BAD SEAL that is sucking air into the system or else your kids (or some bugwit neighbor) played around with it and tried jacking it upside down. Whatever the reason - Here we go:
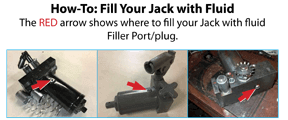
Jack the jack all the way up/out. Release the release and retract all the way down. Open the filler plug and you should get a little psssst. Voilà! That's IT! But MAKE SURE you open the filler plug and NOT a CHECK VALVE - This will introduce air INTO your system!
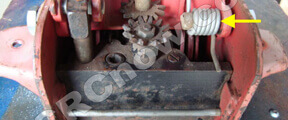
Also you may lose the prime of your jack. - Set the release valve closed and PULL THE PISTON OUT or UP, open release valve and push back down. This should force oil through the system and catch the prime again - You may have to do it a couple of times.